



Custom Paper Tube Packaging Design and Production: Specs, Materials, and Process
Custom paper tube packaging is designed by matching a tube's dimensions, paper construction, closure, and decoration to the product and its distribution conditions. A practical development process starts with a written product brief, turns it into a structural specification, and validates a prototype before production. The exact dimensions and tolerances must be confirmed for each design; supplier-published machine ranges are reference points, not automatic guarantees for every finished tube.
For a brand team or buyer, the goal is to specify a package that fits the product, works for filling and customer use, and can be manufactured consistently. This guide covers the decisions to make before requesting a quote from a custom paper tube packaging manufacturer.
What to Specify
- Product: dimensions, weight, contact sensitivity, and any filling or assembly needs.
- Use conditions: retail display, shipping route, storage environment, and moisture exposure.
- Tube design: inner and outer diameter, height, wall construction, base, shoulder, and closure.
- Decoration: artwork, print method, color requirements, and surface finish.
- Validation: prototype checks, acceptance criteria, sample approval, and production controls.
Paper Tube Packaging Specifications: Published Reference Ranges
The source page for this topic currently lists the figures below. Treat them as supplier-published reference values. Confirm that they are current and applicable to the proposed tube, materials, machinery, and order before using them in a specification or purchase order.
| Parameter | Source-page reference | What to confirm for the project |
|---|---|---|
| Tube diameter | 0.5-14 in (12.7-355.6 mm) | Whether the range refers to inner or outer diameter, and which tooling and construction are available |
| Wall thickness | 1-5 mm | Board grades, layer count, adhesive, and finished-wall measurement method |
| Dimensional tolerance | +/-0.2 mm | Which dimension or feature is controlled, measurement method, sampling plan, and acceptance criteria |
| Stated machine speed | Up to 150 tubes per minute | Whether this is a machine rate or saleable finished output; setup, size, print, finishing, and inspection can change throughput |
A range alone does not establish that a tube will protect a particular product. The final specification should name the controlled dimensions, material layers, closure fit, and inspection method. For tubes used with moisture-sensitive products, ask whether a liner or barrier is needed and request evidence relevant to the intended exposure and product compatibility.
Start with the Product Brief
Record the product's dimensions and weight, how it is filled or assembled, and how customers will open, close, and store it. Then describe its distribution route: parcel shipment, palletized freight, retail handling, or another channel. These details help the packaging team identify where fit, crush resistance, moisture exposure, or closure retention may matter.
Separate required functions from optional features. A tube for a lightweight retail item may need a different structure from a container that must protect a heavier product during parcel shipping. Include target markets, expected order quantity, labeling needs, and any material or compliance requirements in the brief.
Engineer the Tube Structure
The inner diameter and height control product fit; wall construction, base design, shoulders, and closures affect assembly and use. State whether dimensions are internal or external, and provide a sample product or a dimensioned drawing when possible. For unusual shapes, confirm whether an insert or custom shoulder is needed.
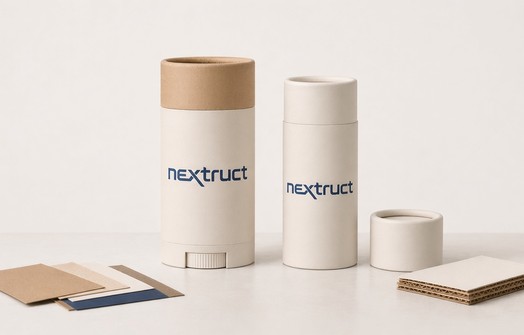
Paper tube packaging may combine a paper body with a paperboard or other closure, liner, insert, or barrier layer. Evaluate the complete pack rather than the body alone: added components can affect assembly, material separation, product compatibility, and end-of-life options. Do not call a package recyclable or plastic-free unless the full bill of materials and relevant local collection conditions support that claim.
Choose Printing and Finishing
The best printing method depends on the design, quantity, schedule, substrate, and supplier equipment. Use this comparison as a starting point, then ask for a quotation and physical sample for the actual job.
| Method | Often considered for | Ask the supplier |
|---|---|---|
| Offset | Detailed graphics and larger planned runs | What quantity makes setup economical, and how will color be controlled on the selected stock? |
| Flexographic | Repeating designs and production runs suited to the process | Which inks and board surfaces are compatible, and what registration limits apply? |
| Digital | Shorter runs, versioning, or artwork changes | What are the limits for color matching, surface coverage, and finishing compatibility? |
Prepare artwork using the supplier's current dieline. Check seam position, orientation, bleed, safe areas, small text, and required product information. Compare printed proofs or approved samples under consistent lighting. Finishing options such as matte varnish, gloss details, or soft-touch effects should be evaluated for appearance and handling on the chosen material.
Prototype, Test, and Approve
A prototype should represent the intended structure, not just its appearance. Check product fit, closure operation, opening and re-closing, label placement, and assembly on the filling line where relevant. If the package will be shipped, agree on tests that reflect the actual route and risk profile.
Possible evaluations include compression, drop, vibration, humidity exposure, and product-contact compatibility. These are not universal pass/fail tests: define the method, sample count, conditioning, and acceptance criteria with the supplier before testing. Record revisions and keep an approved reference sample so the production run can be checked against the agreed design.
Plan Production with the Manufacturer
Before a production order, align the artwork version, materials, controlled dimensions, tolerances, inspection points, sample approval, packaging for shipment, lead time, and change-control process. Ask the manufacturer which figures are machine capabilities and which are finished-product specifications. If a quoted capability is important to the project, have it written into the drawing or purchase specification with a defined measurement method.
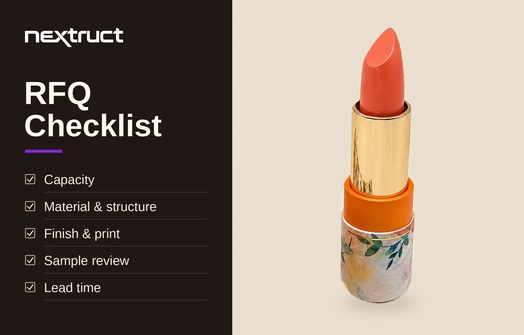
A useful request for quotation (RFQ) includes:
- Product dimensions, weight, and a sample or drawing.
- Required tube inner/outer diameter, height, closure, and intended use.
- Proposed paper grades, layers, liner or barrier needs, and finish.
- Print files or color references, quantity, destination, and target timing.
- Required prototype checks, acceptance criteria, and supporting documents.
Comparing custom paper tube packaging manufacturers on these points makes quotations easier to evaluate. Confirm minimum order quantity, sample charges, tooling, production lead time, and freight terms directly with each supplier; these vary by design and order.
Final Thoughts
Custom paper tube packaging design is a specification and validation process, not just a choice of cylinder and artwork. Define the product and distribution requirements first, confirm the finished tube dimensions and materials, compare print options using real samples, and agree on project-specific quality checks before scaling. The published ranges in the specification table can help start a supplier discussion, but the final drawing and approved sample should govern the order.
Frequently Asked Questions
1. What dimensions can a custom paper tube have?
The source page lists a diameter range of 0.5-14 inches and wall thickness of 1-5 mm. These are reference ranges, not a guarantee for every construction. Ask the manufacturer to confirm inner versus outer diameter, available tooling, height limits, and the specification for your product.
2. What wall thickness should I choose for a paper tube?
There is no single correct wall thickness. Product weight, tube diameter, stacking, shipping conditions, closure design, and material layers all affect the required construction. Start with a product sample and distribution details, then validate the proposed structure through agreed prototype checks.
3. Which printing method is best for custom paper tube packaging?
Offset, flexographic, and digital printing can each suit different artwork, quantities, substrates, and production plans. Compare total quoted cost, color requirements, setup, schedule, and finish compatibility. Request a physical sample on the proposed board before approving production.
4. Are paper tubes waterproof?
A paper tube should not be assumed waterproof. Moisture resistance depends on the paper, coatings, liners, seams, closure, and exposure duration. Describe the expected conditions to the manufacturer and request project-specific compatibility or moisture testing before making a performance claim.
5. What information should I send for a paper tube packaging quote?
Provide product dimensions and weight, intended use and shipping route, target quantity, required dimensions and closure, artwork or color references, material preferences, destination, and timing. Include required tests or documentation so suppliers can quote comparable specifications.
6. How long does paper tube packaging production take?
Lead time depends on design complexity, sampling and revision cycles, material availability, tooling, order quantity, finishing, and shipping. Ask the supplier to separate sample-development time from production and transit time, and confirm the schedule after the final sample and artwork are approved.